We are moving both boys into the bigger bedroom and using Zane's old bedroom as my craft room. YAY for mom! We did Zane's room in superhero decor and plan on doing the same for the boys' room. I have many many ideas I have found on pinterest and we plan on starting the reno after Christmas and our first focus is the closets. Stay tuned for before and after pics!
CLOSETS...
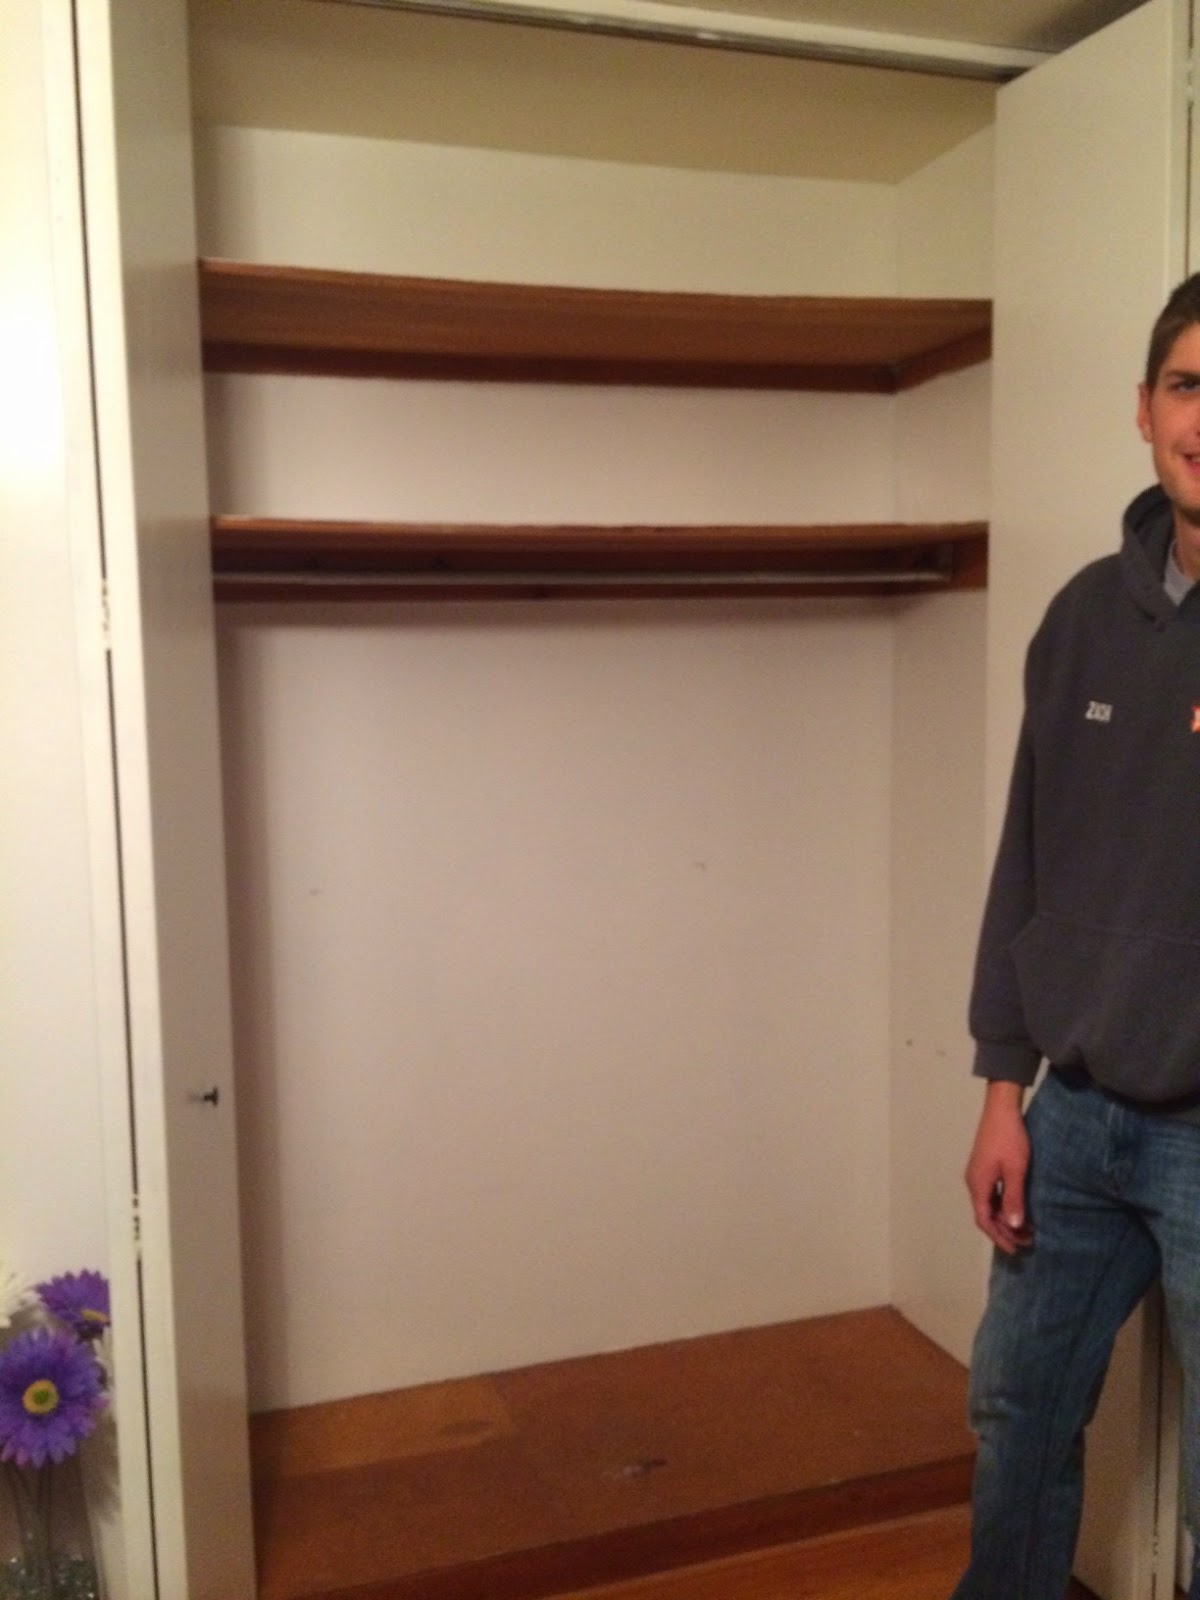 |
| So here is what all 4 closets looked like before... |
 |
| After picture of my husband and I's closets in our bedroom. |
 |
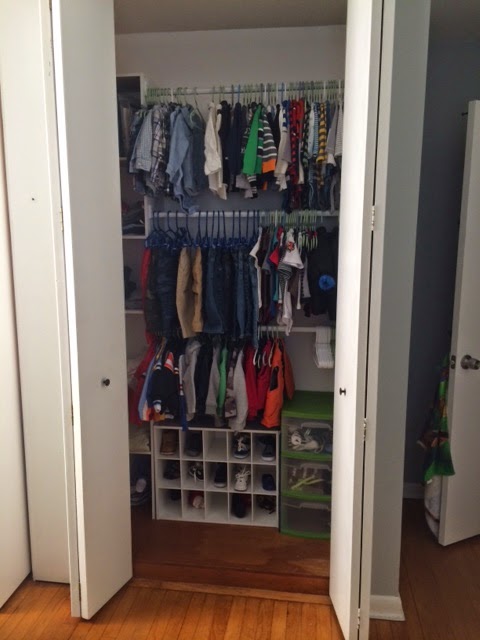
| Zane's closet- Shelving on the left side and shoe cubby at bottom. We used 3 rods to utilize the space more for kid clothes. the middle rod can be removed to fit regular sized clothing. |
 |
Zane's closet again
Nash's closet... I have started going through all of Zane's old clothes but haven't made it very far. It's going to be an entire day long project... ugh. Basically the same closet, just reversed. I also added more shelving instead of a show cubby for now.

Before picture of "my closets" that are now used for the boys.
  |
How did he do it??? -well, my hubby is just the bomb.com! hahaha Not only did he remodel all these closets, he did it all within 2 weeks! Not too bad at all!
You can pick all kinds of different layouts for closets. My hubby went to Home Depot's (our favorite store) website and put in our closet measurements and was able to pretty much design what he wanted. He then went to the store and bought all te materials (they had them all in stock)
It's basically a kit, and you buy the shelves for over the rods seperately (or at least we did). You can choose to do wire or wood. We obviously chose to go with the wood. I like the look of the wood a lot better than the wire and I just like having wood shelves better. We also chose not to do doors and drawers. They have this option, but things get more expensive when you do that. I basically just used the cloth boxes you can get just about anywhere and tons of storage stuff from ikea to organize everything. Overall, we spent just under $500 to do all 4 closets! that's a steal really! We are extremely happy with how they turned out and with the price.
The next steps... removing everything off the walls in this room and Zane's old room, spakle, and then paint. - This may take awhile. My plan is to do something like this in the boys' room..Just on one wall.


And then I plan on painting on wall in Zane's old room (my new craft room) like this...

I am OBSESSED with the color paint I chose for our house (A very pretty color grey like the one in this picture) I just LOVE it! It matches everything and it is so pretty. I have told Zach, this will be going in our next house as well.
Well... step 1 is COMPLETE! Feels good- and we still have lots more time before #2 arrives. But, we like to be on top of things :) Still have a ton to do though! Stay tuned!
SKYLINE MURAL...
UPDATE!!!(1/20/15)
This past weekend I worked on the boys' superhero room. I decided to tackle the
skyline mural in their room. At first I was going to do the buildings black. I already had to buy a new gallon of paint that is the original color of our wall for some touch ups (plus it's just good to have some extra lying around). So, what I decided to do was just buy that and a small amount of black to just mix in with the gray to get a darker gray. It was very easy.
The first step was to patch holes in the wall. I always have an extreme amount of holes in my walls from hanging things.. I like to hang stuff, move stuff around, add new stuff, take stuff away... haha my husband isn't always thrilled with the amount of holes I put in the walls. I then taped off the baseboards and starting taping off my buildings. I did not measure anything... I just used a big level to make sure my lines were straight. I looked off of a picture from pinterest to get a good idea of the shape of the buildings I wanted. I wanted it to be very simple. Nothings too crazy..
Although I love this, it was just too much work for me.. This may even be vinyl (I'm not sure). But I sure as heck wasn't going to try to tackle this type of taping off and painting...
I wanted something more like this...
 Much more simple..
  |
| So here is my first step... I wanted the buildings to be pretty high because I'm putting the crib right in front of this.. so they need to be higher than it. |
 |
| My next step was to add the black paint to my gray paint (wall color). I actually added quite a bit and love the end result. I painted two coats of the dark gray. I then removed the tape from the wall. |
 |
| I decided to do the "bat signals" for the two boys with their initials in them.. just a little bit of an added touch. I again used the original gray wall color and added white to it this time to get the color for the signals. I simply free-handed the tape lines and rounded off the edges with a pencil and bowl. |
 |
| I used my cricut to cut out a stencil for the "Z" and "N". I used just regular craft paint to paint the letters. |
 |
| In the end, I love how it turned out. I think I will eventually add some windows (maybe black or the light color gray). But, for now, it's done. |
This project was actually pretty simple and only took me a few hours (most of it was waiting for paint to dry). I completed it in one afternoon. I chose to do a small wall and simple buildings (on purpose). I didn't need it to be anything too intense.
The next steps for this room are to add curtain and some decor on the walls. I just bought Zane's new toddler bed and bedspread.. Almost done.
No comments:
Post a Comment